- a) If a pipe or comma delimited file is e-mailed to you:
- If using Netscape Messenger, go to the View menu and ensure that "Wrap long lines" is not checked so that the long lines stay as unbroken single lines when you save this into a file. You can re-set this option after you save your file. This option is not available in all e-mail programs.
- In Messenger, Mozilla or Thunderbird, select the e-mail, go to the File menu and choose "Save As" then "File" to save the e-mail listing into a file. Give the file a non-Excel file name; i.e., don't use .xls, so that Excel detects that it needs to use its import function.
- b) If the Pipe (or Comma) Delimited file is given to you as a web address, go to the website with your
browser and choose the browser's "File", "Save Page As" command to save the listing into a file (save with
a non .xls file extension name).
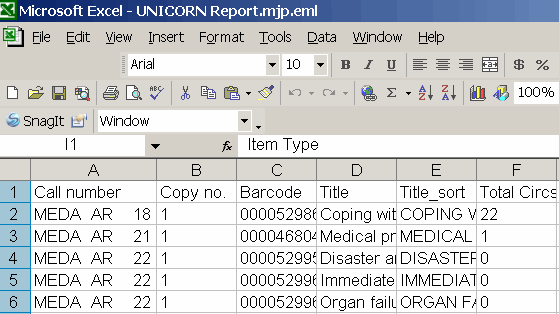
- Open Microsoft Excel.
- Open the newly saved file you created in the step above. Note
that in the File, Open window, you may have to change the "Files of
type" from Excel types to "All Files (*.*)" to locate your saved file. Excel will open a series of Import Wizard
Steps.
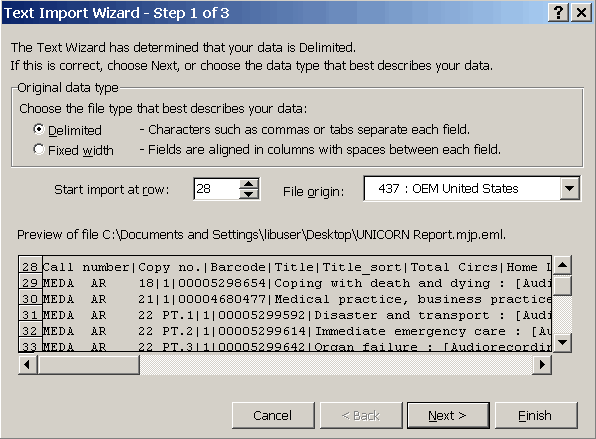
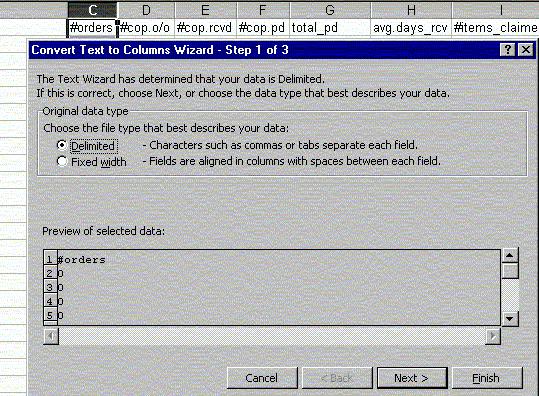
- In the Step 1 window, choose "Delimited" as the file type that best describes your data.
- Select which row to begin the import on. Skip the preliminary email headers and start on the appropriate line.
- Click on the Next button.
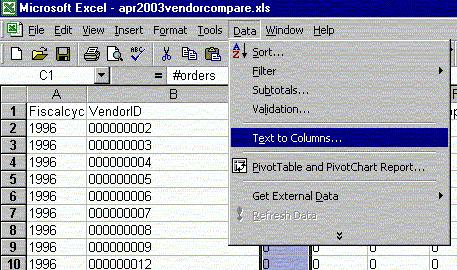
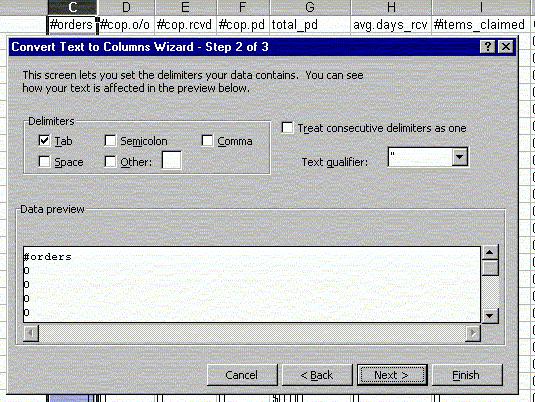
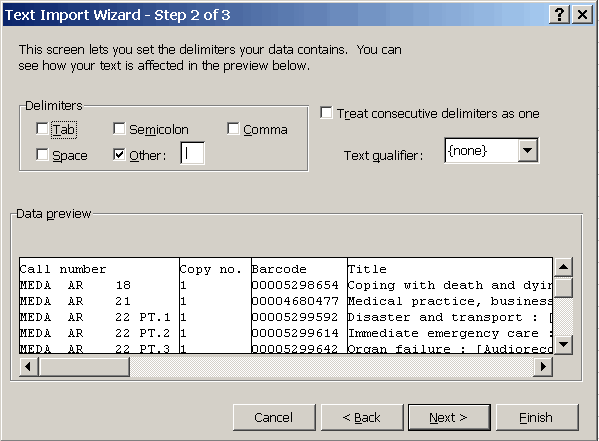
- In Step 2, you can select the type of delimiter. Deselect "Tab" then select "Other" and fill in a pipe symbol in the box to obtain a pipe delimited file, or select "Comma" if the file is comma delimited, such as in fundsummary reports. Click Next.
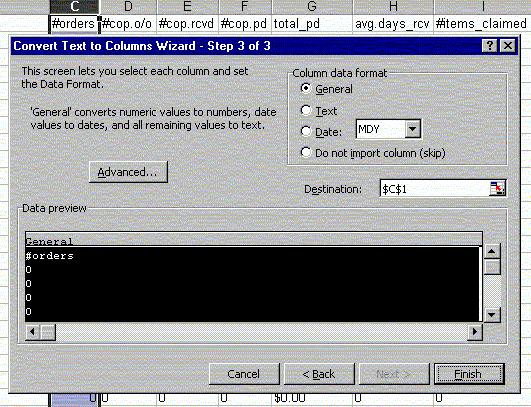
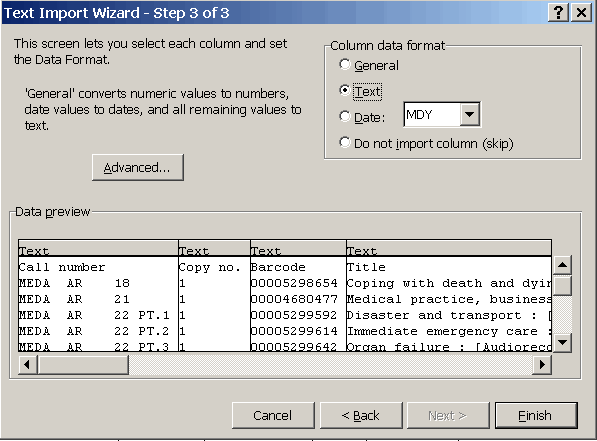
- Step 3 allows you to specify the data format in each column.
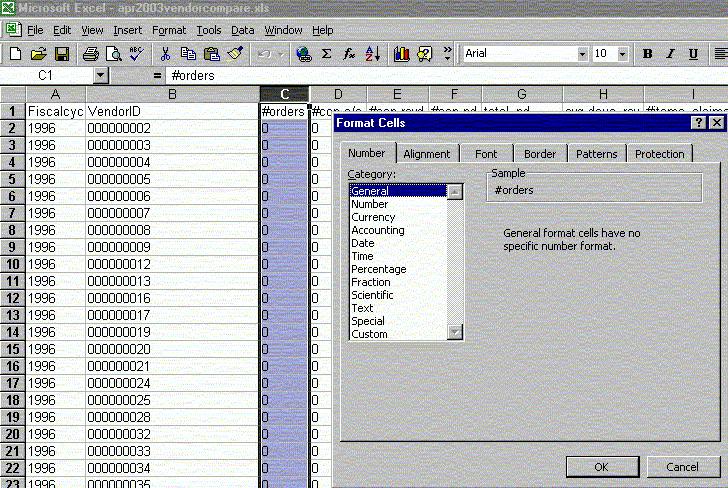
Select each column and specify "Text" data (so that the initial zeros in the barcode etc. are NOT removed),
unless a column has
numbers which you want to sum up, then select "General" for those columns.
Choose "Finish" to import the file.
- For columns with lots of text, as can happen in the call number or title columns, you can use Excel's "Format Cell", "Alignment", "Wrap text" option to help squish the data onto the page. Using the "File", "Page Setup", "Landscape" choice also helps.
- Excel columns take a max of about 120 characters, so if the text exceeds this, you may see the column filled with ##### marks; put the cursor in that cell and remove characters off the end of the column to reduce it so that it will display the text.
